Create your Divisions
To get started, navigate to Settings & select the Divisions tab. ClickEnable Divisions.
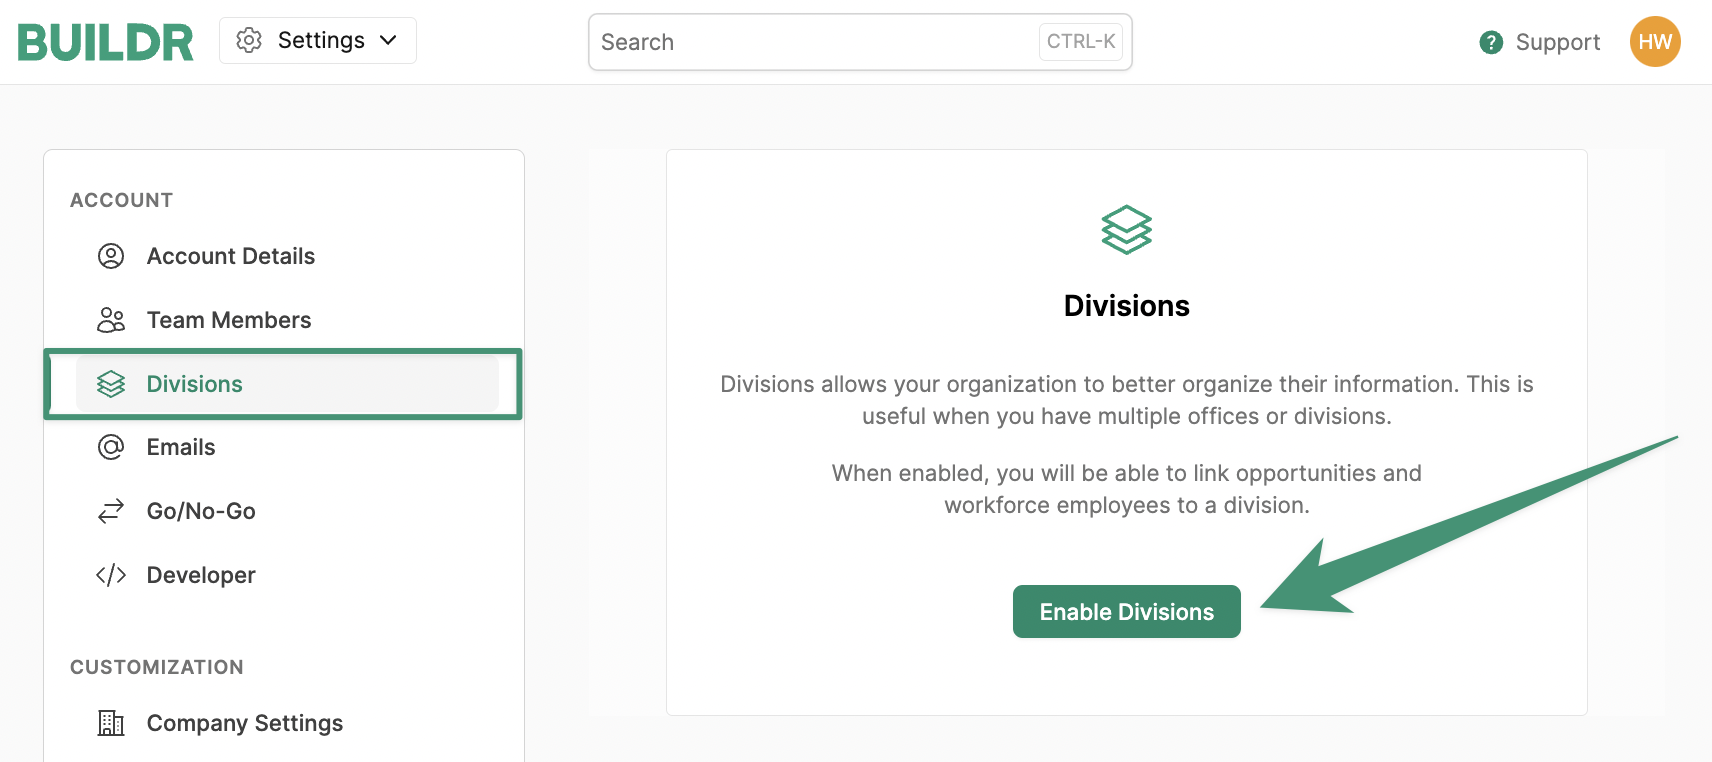
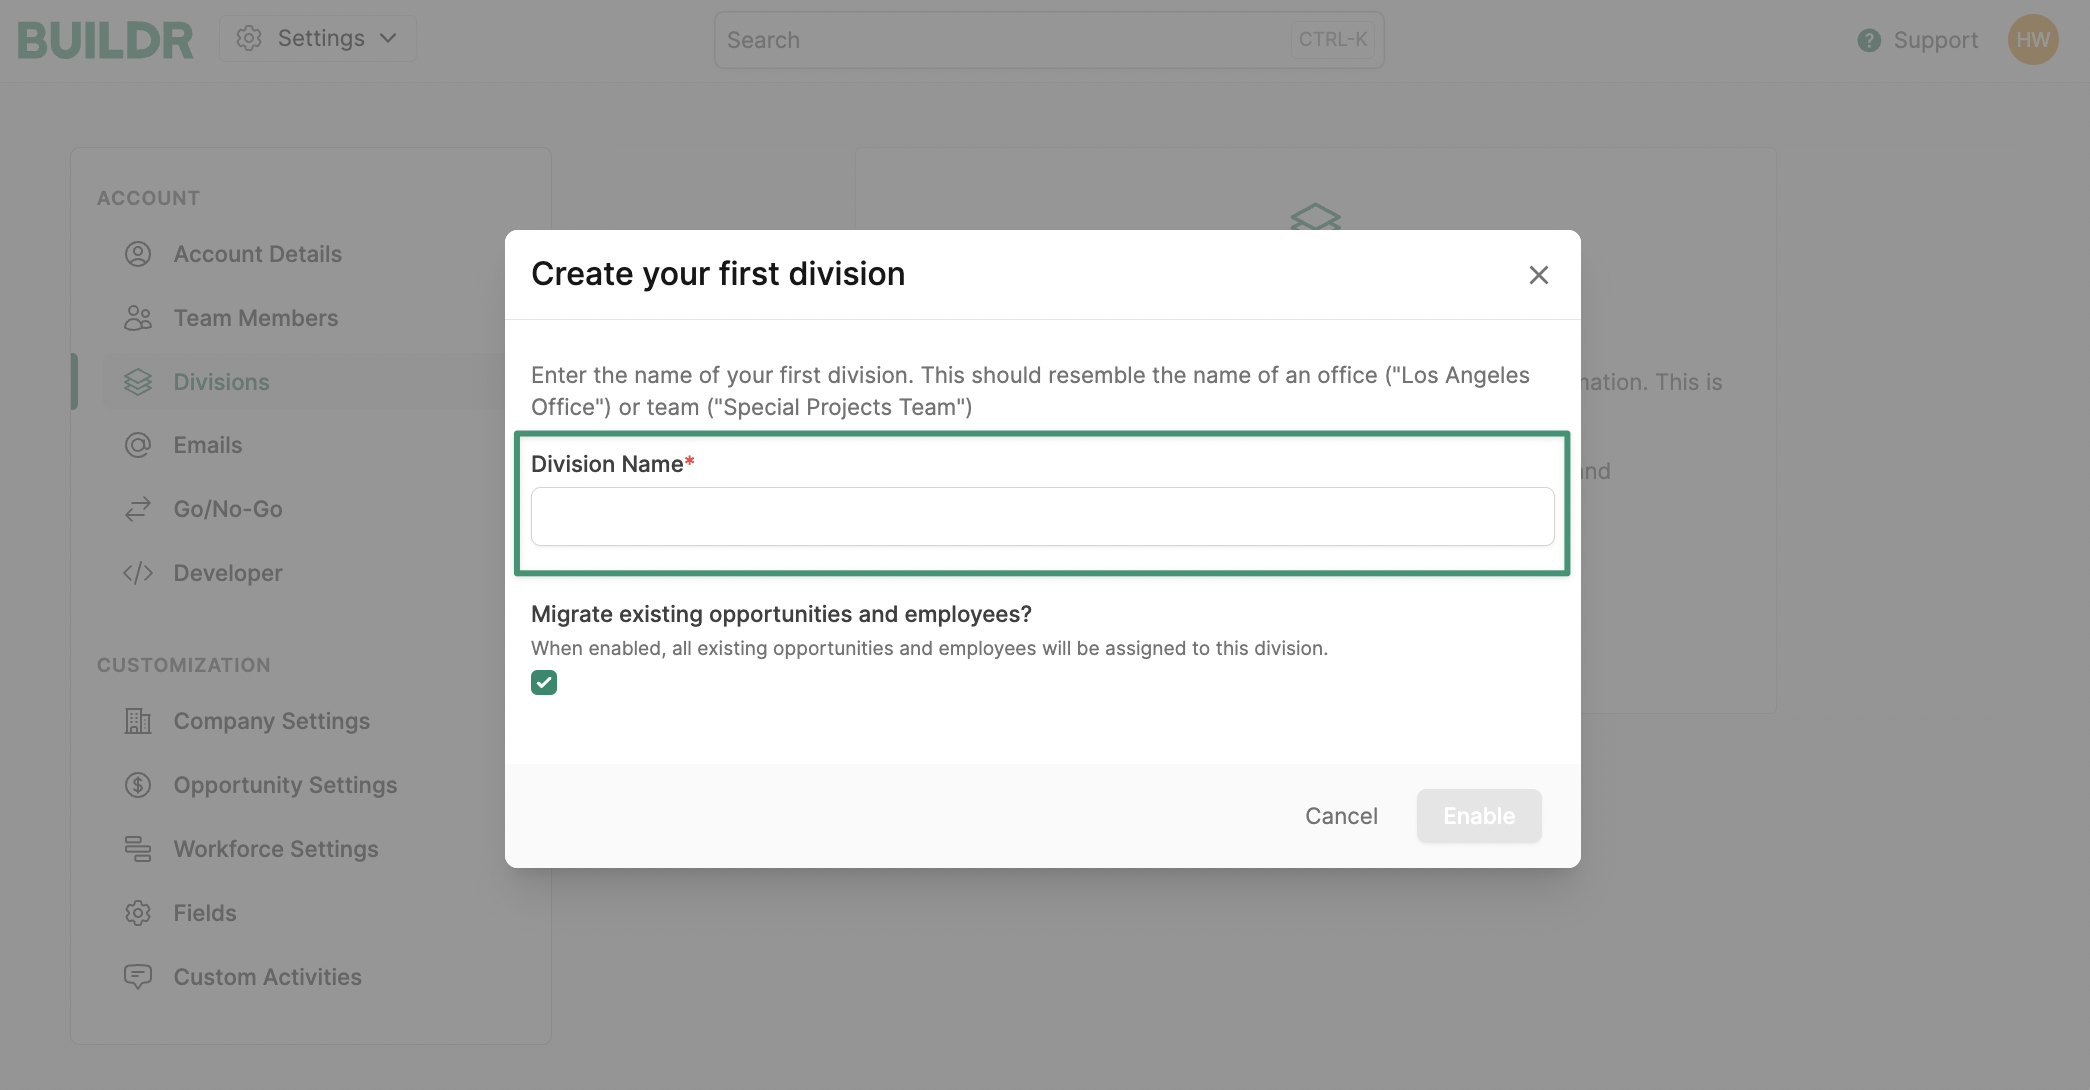
Enable.
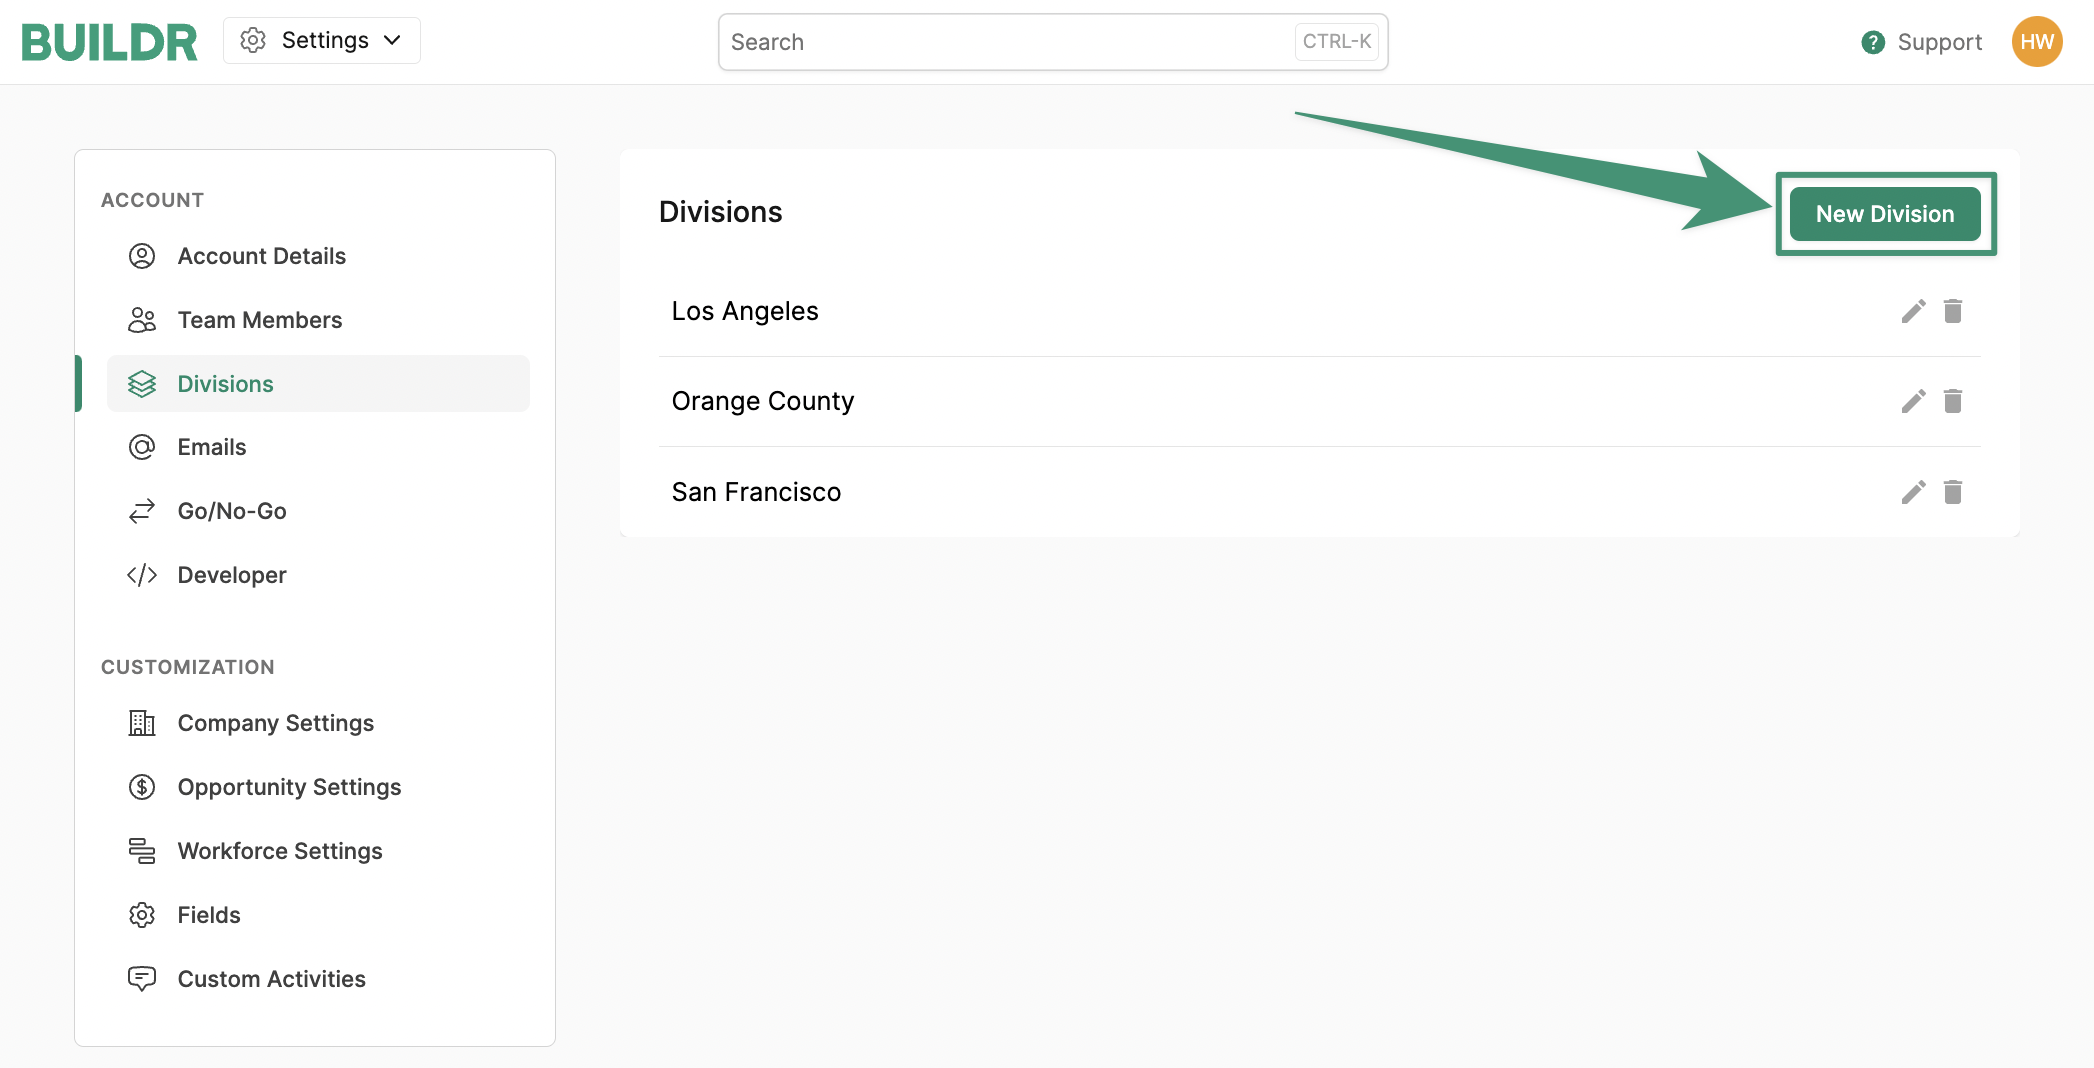
You’ve now created your first division! You can proceed to add any additional offices or divisions by selecting New Division. If you need to edit or delete any existing divisions listed, simply click the pencil icon to edit, or click the trash can icon to delete.
Assign Projects to a Division
Now, we can begin assigning projects to our divisions. To assign a project, open the project & navigate to the Division field under “Opportunity Information.” Under Division, select the designated office from the drop-down menu and save your changes. If you do not see the office or division in the drop-down list, simply follow the instructions above to create a new division.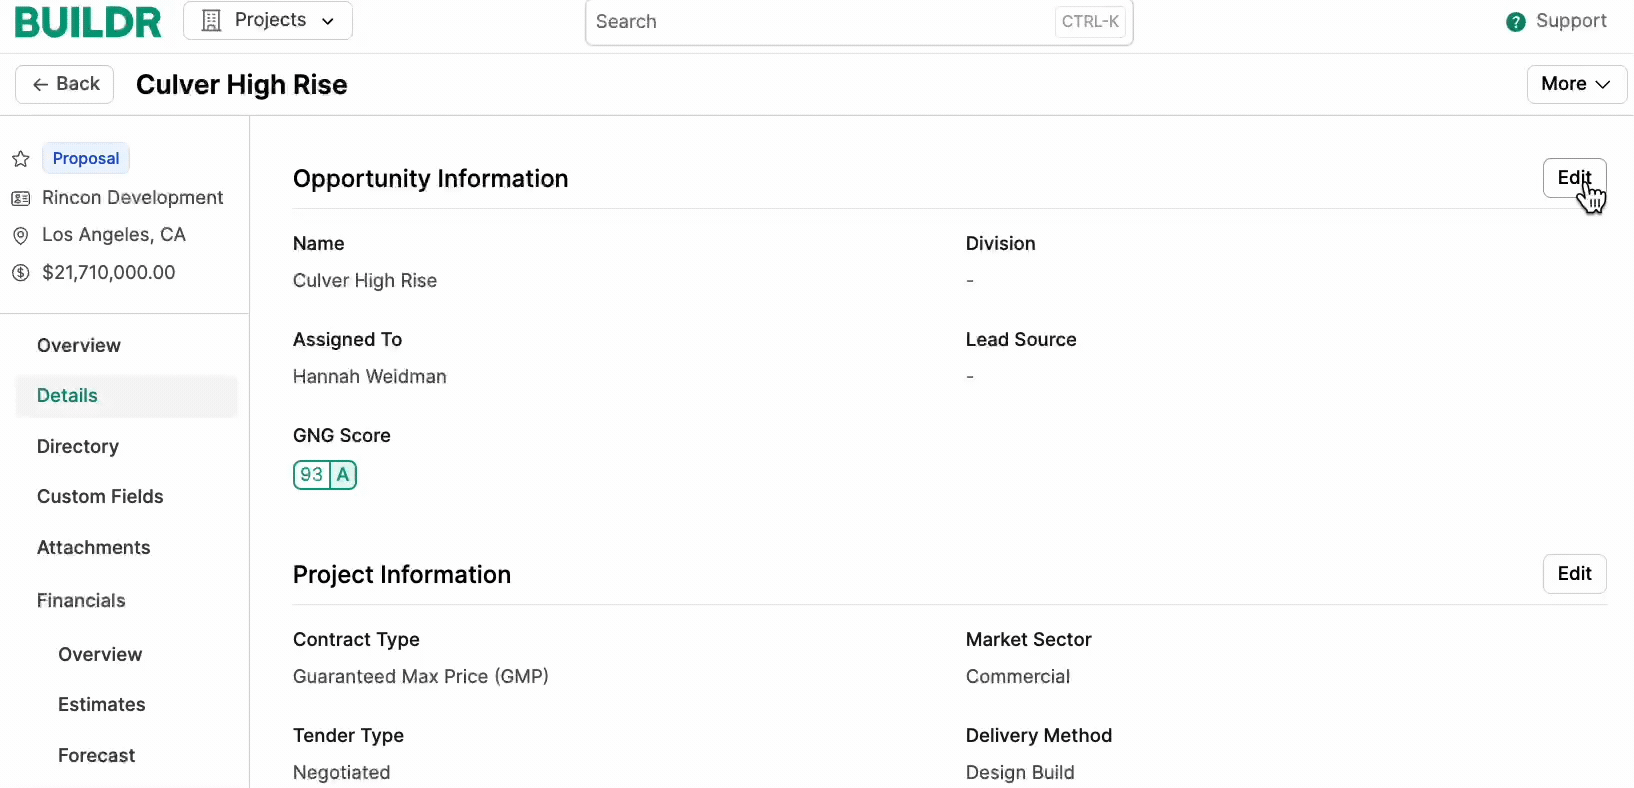
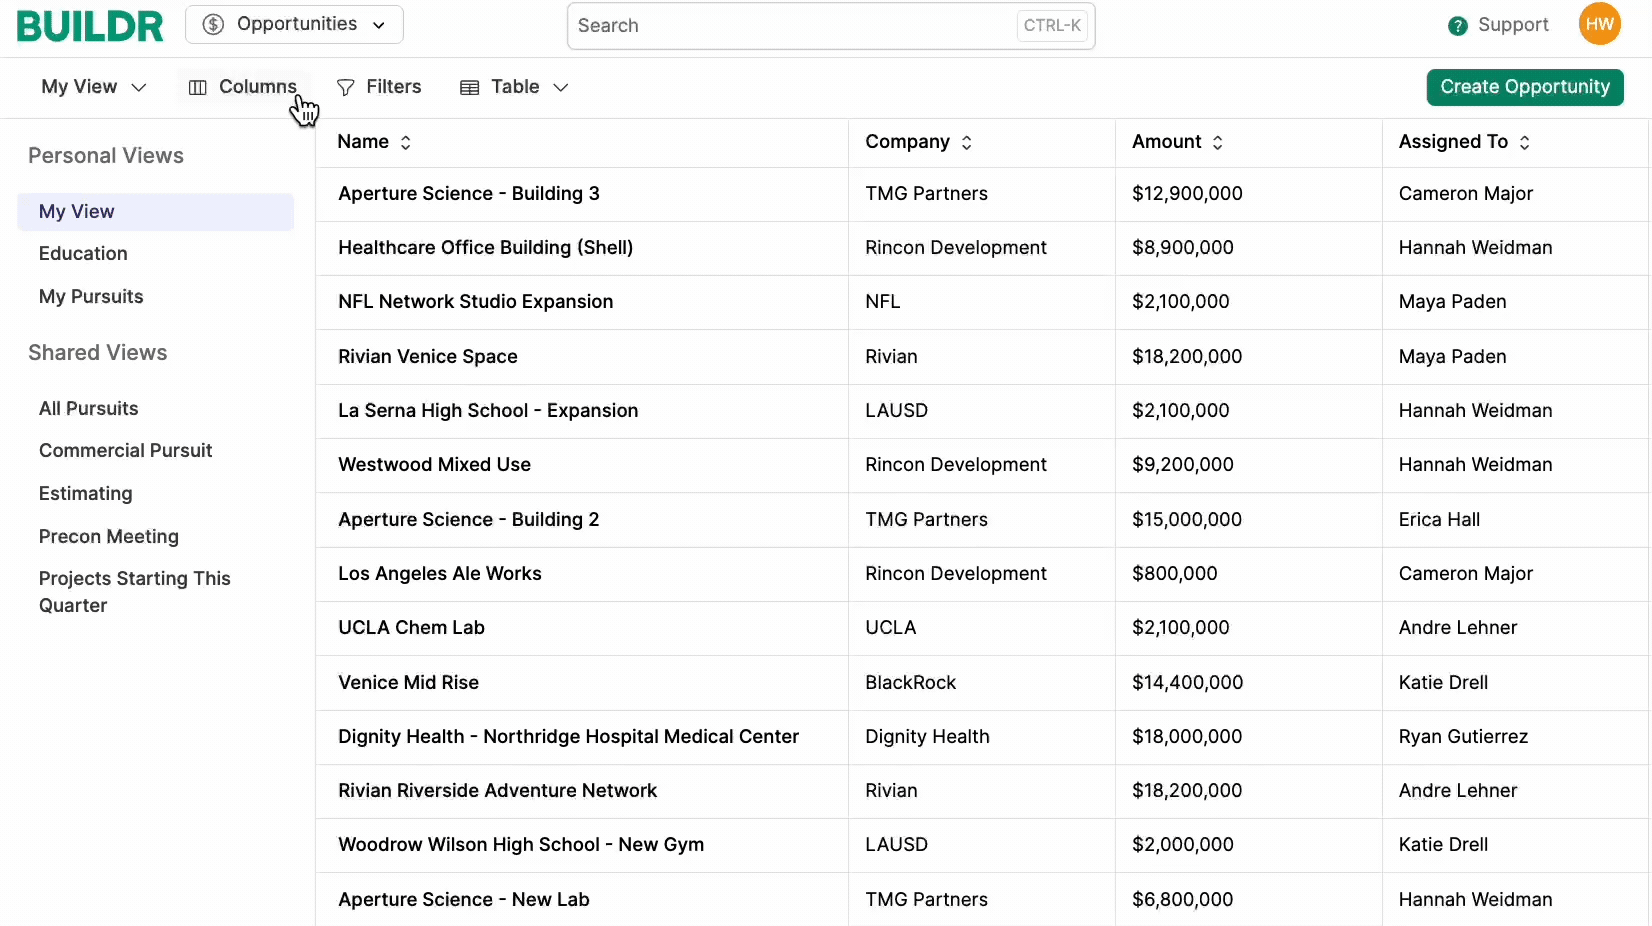
Columns at the top menu. Select + Add Field and click Add Column next to Division. Finally, click Done. The Division column will now be visible in your project view.
View Insight Reports by Division
Buildr allows you to seamlessly view and filter all insight reports according to Division. To begin, open the Insights tab under Analytics. If you wish to view a report by office or division, simply click the Divisions tab and select the desired division(s).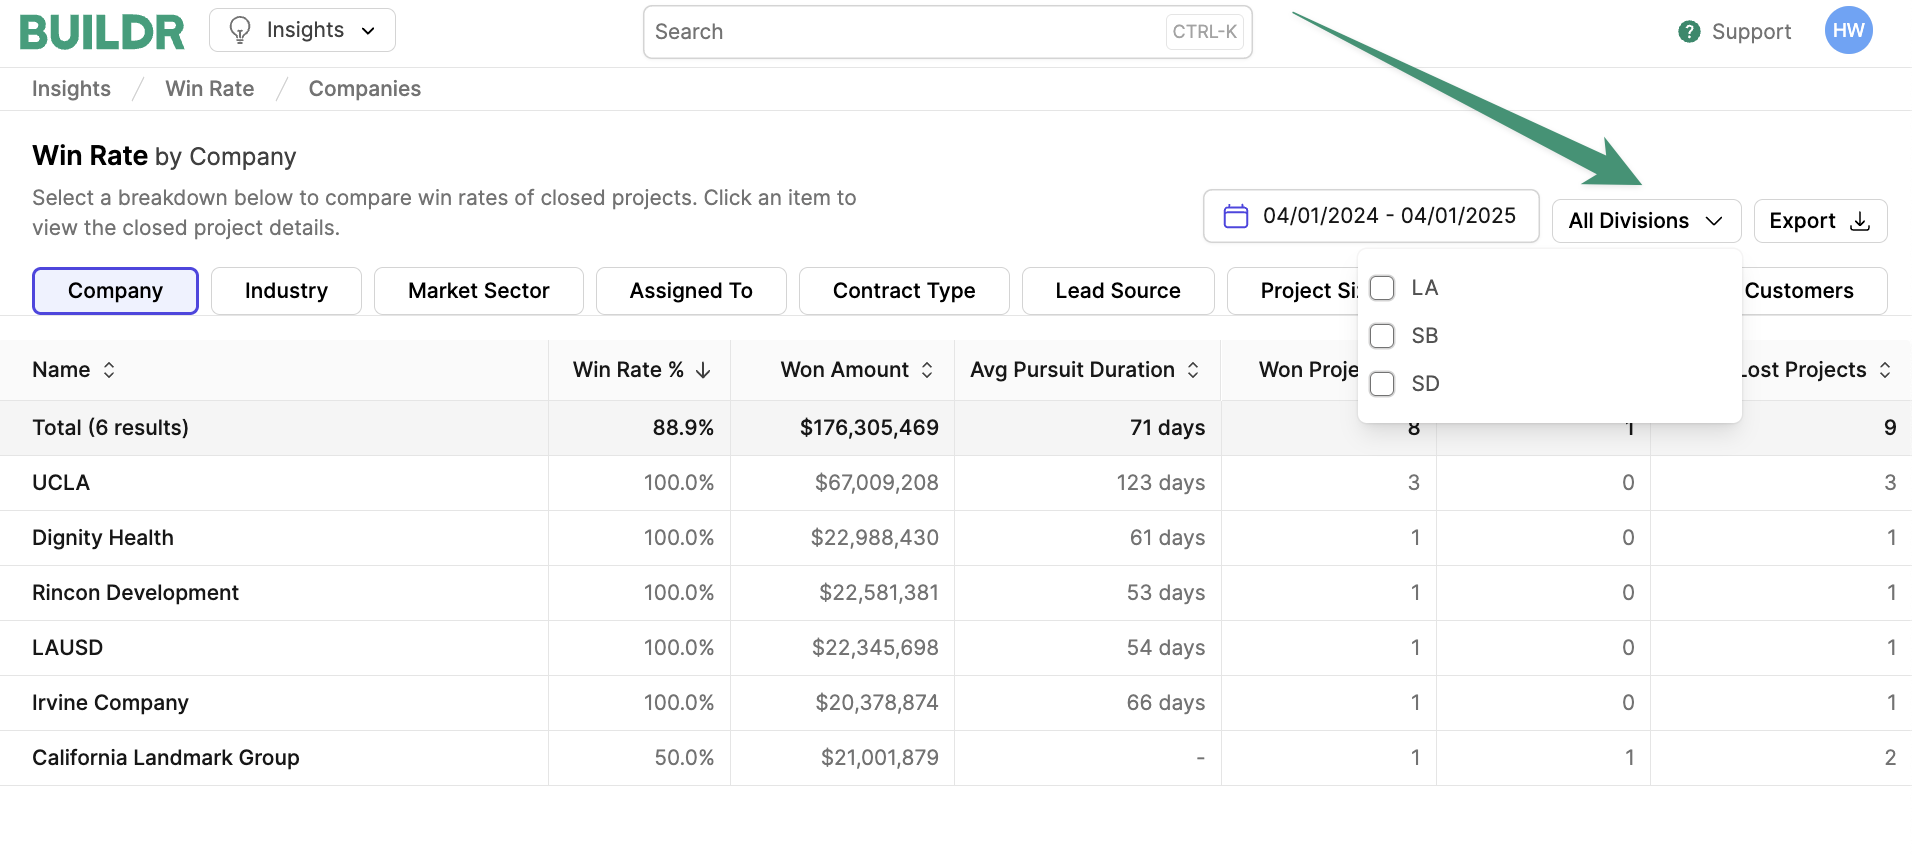
Link Employees to a Division
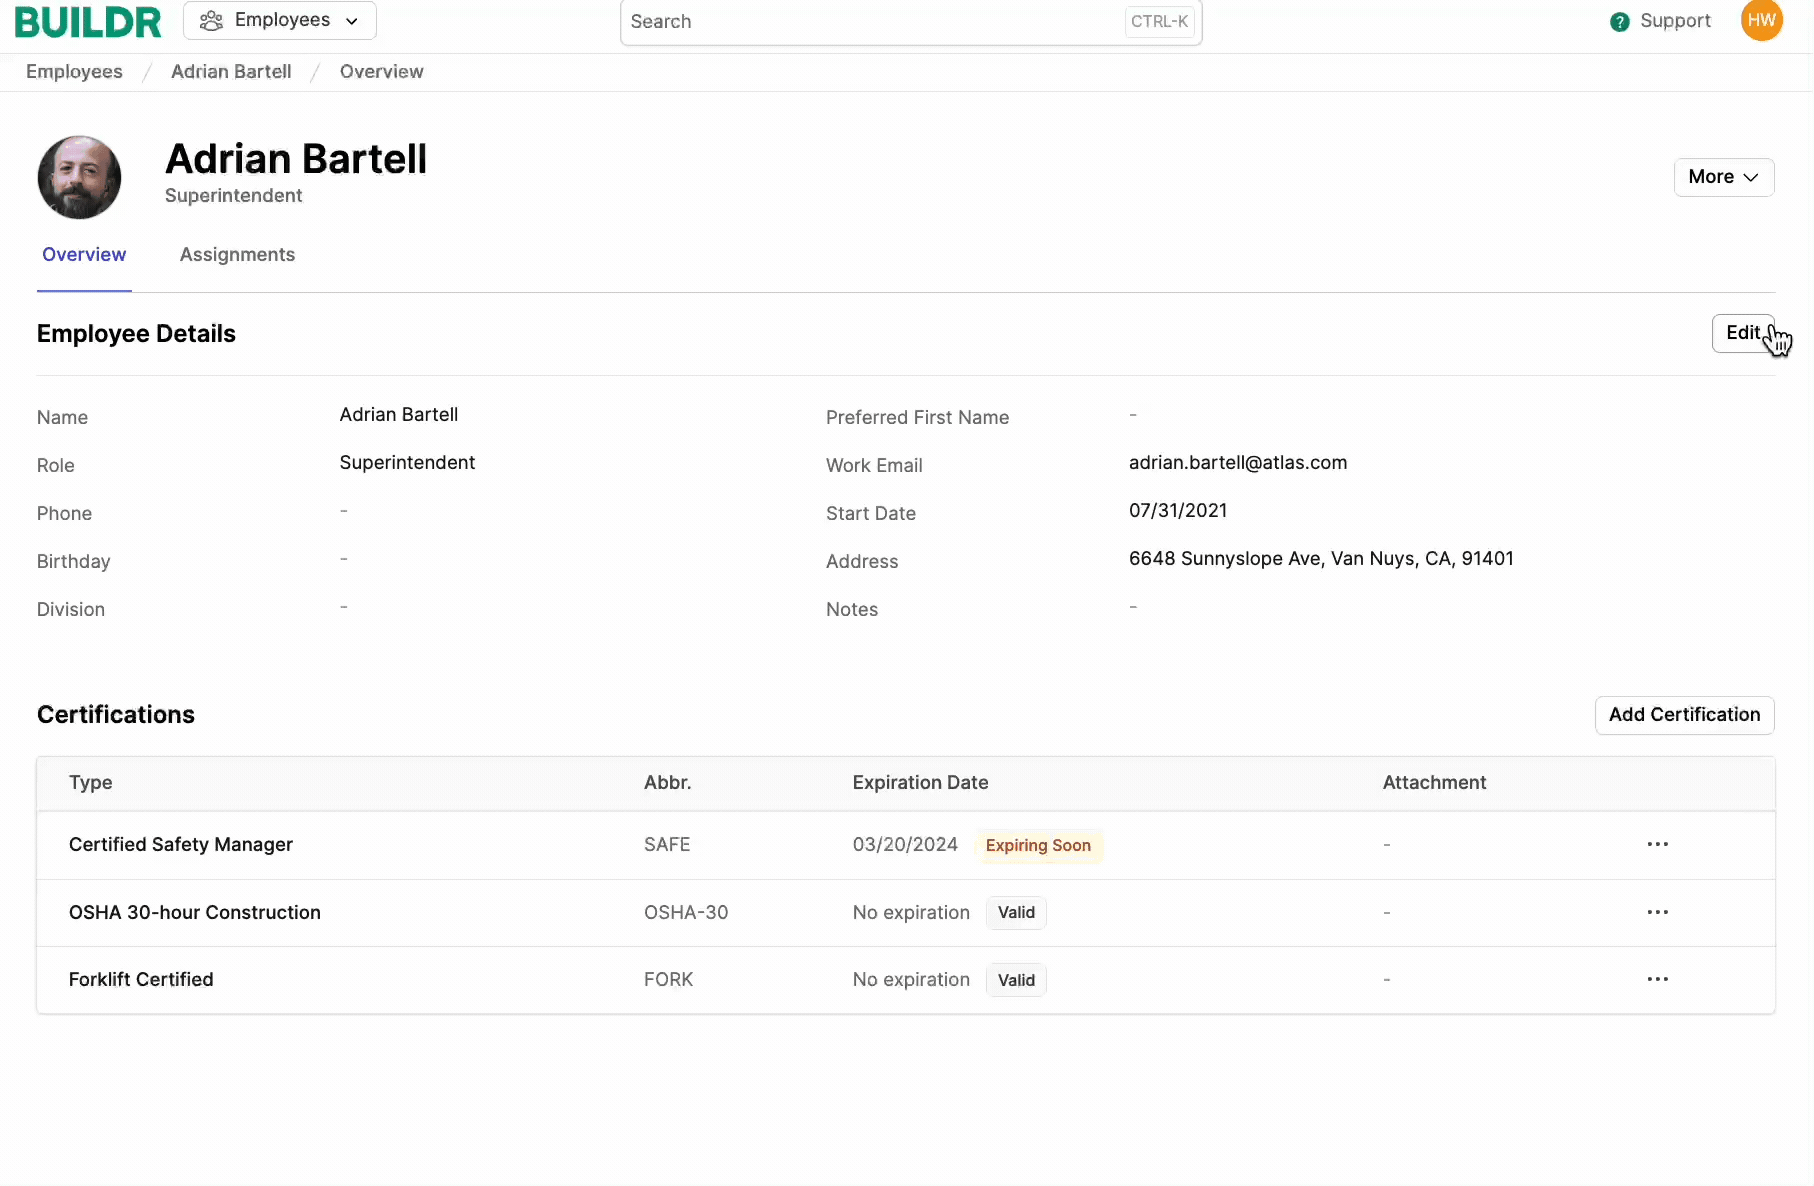
If you are utilizing the workforce management tool, you can easily assign your employees to a division. First, navigate to the top menu and select the “Employees” tab under Workforce. To assign an employee to a division, choose the employee profile & clickEdit. Scroll down to the Division field and select the desired office or division. Click Save.
Assign Employees to an Assignment using Divisions
Now that you’ve linked your employees to their designated divisions, you can assign your workforce to relevant assignments. When assigning your employees to an assignment, Buildr conveniently shows you all available employees who match the corresponding division.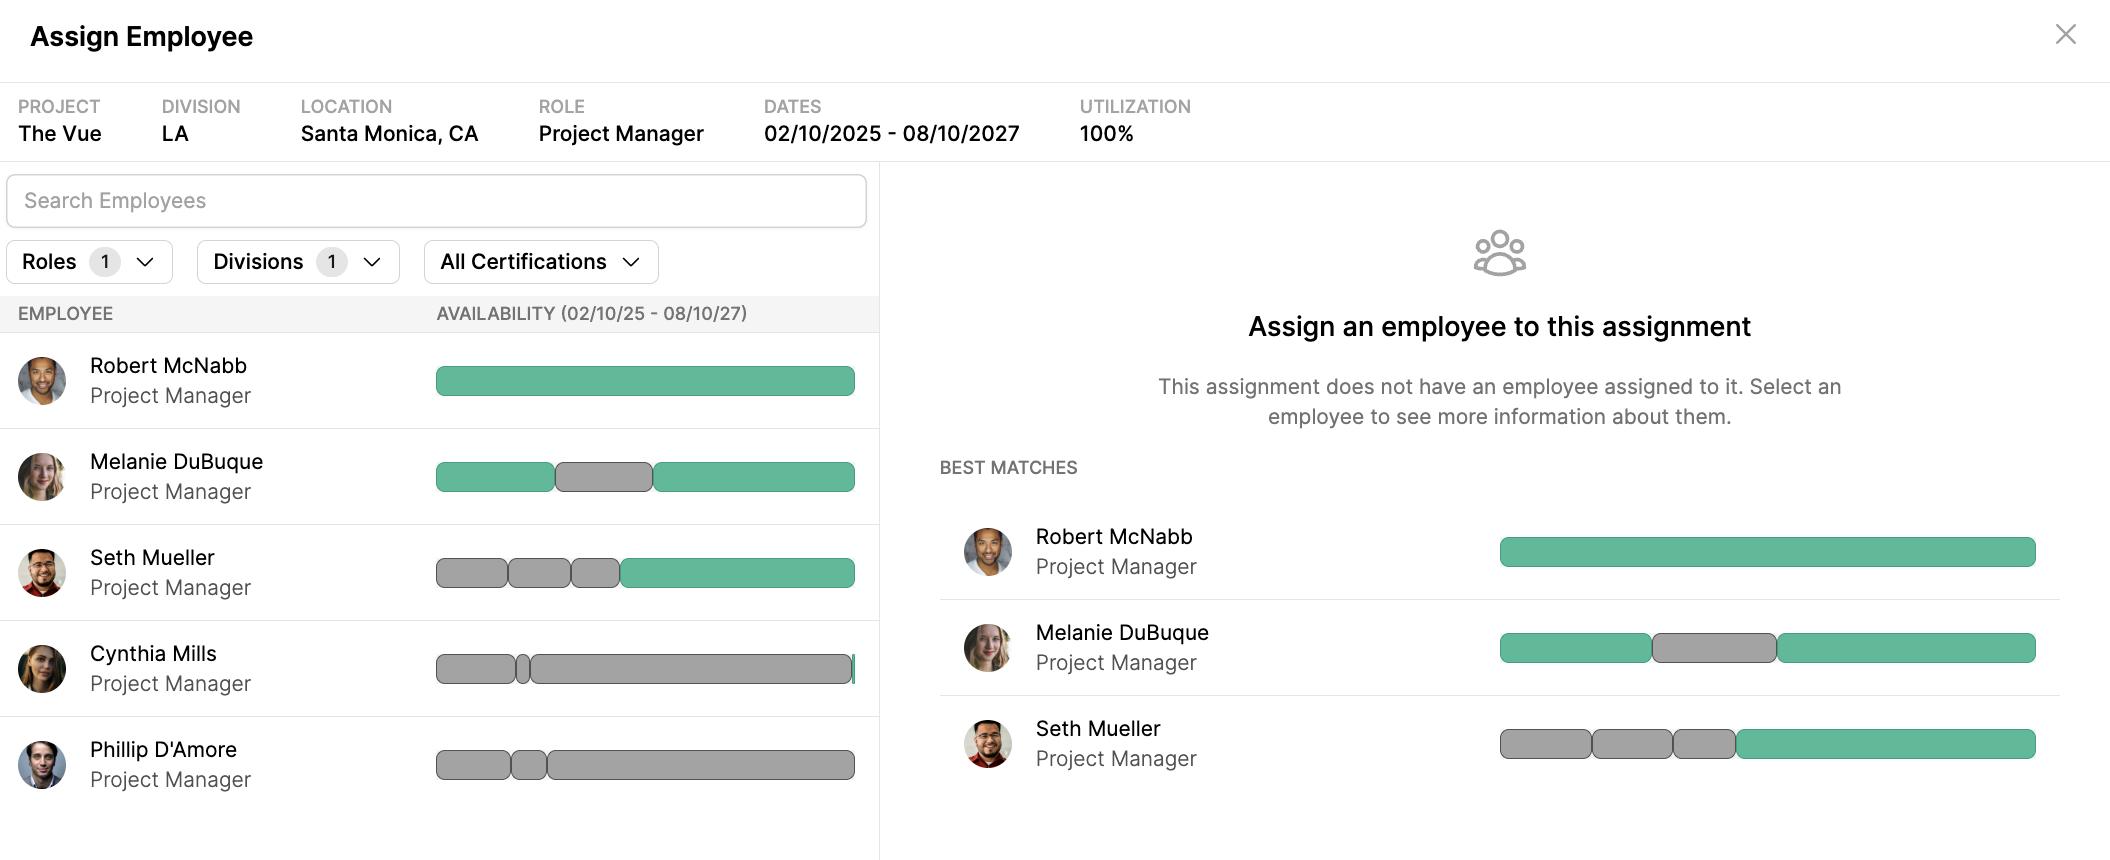
Divisions and checkmark the desired divisions.